
The Complete Guide to Preparing Your Home for Painting: Pressure Washing and Beyond


Introduction to Home Painting Preparation
Painting your home can be a transformative project, giving your space a fresh, new look. However, proper preparation is key to achieving a professional finish. This guide will take you through the essential steps, starting with pressure washing and leading to other crucial tasks.

The Importance of Pressure Washing
Pressure washing is the first step in preparing your home for painting. It removes dirt, grime, and mildew that can prevent paint from adhering correctly. Without this step, the paint may peel or chip sooner than expected.
To begin, use a pressure washer with a suitable nozzle to clean the exterior surfaces of your home. Ensure you cover all areas, focusing on spots with visible dirt or mold. Allow your house to dry completely before moving to the next step.
Inspecting and Repairing Surfaces
After pressure washing, it's crucial to inspect your home's exterior for any damage. Look for cracked siding, loose nails, or holes that need filling. These imperfections should be addressed before painting to ensure a smooth finish.
Use wood filler for small holes and cracks in wooden surfaces and patching compound for stucco or masonry. Sand any rough areas to create an even surface ready for priming and painting.

Protecting Your Home's Features
Once repairs are complete, protect features such as windows, doors, and landscaping from paint splatters. Use painter's tape to cover edges and plastic sheeting to shield larger areas. It's also wise to trim back any bushes or trees that may interfere with the painting process.
Ensuring these areas are protected will save time on cleanup and help achieve a professional-looking paint job.
Choosing the Right Primer
Priming is a crucial step that should not be overlooked. Primers seal the surface and provide a uniform base for the topcoat. Choose a primer that suits your home's exterior material, whether it's wood, metal, or masonry.
- Oil-based primers: Ideal for wood surfaces.
- Latex-based primers: Suitable for most surfaces and easier to clean.
- Specialty primers: Available for surfaces like metal or heavily stained areas.

Selecting the Perfect Paint
With the primer applied and dried, it's time to choose the right paint. Consider factors like the climate in your area and the material of your home's exterior when selecting paint type and color. For long-lasting results, opt for high-quality, weather-resistant options.
Keep in mind that lighter colors can make small homes appear larger and more inviting, while darker shades offer a bold, dramatic look.
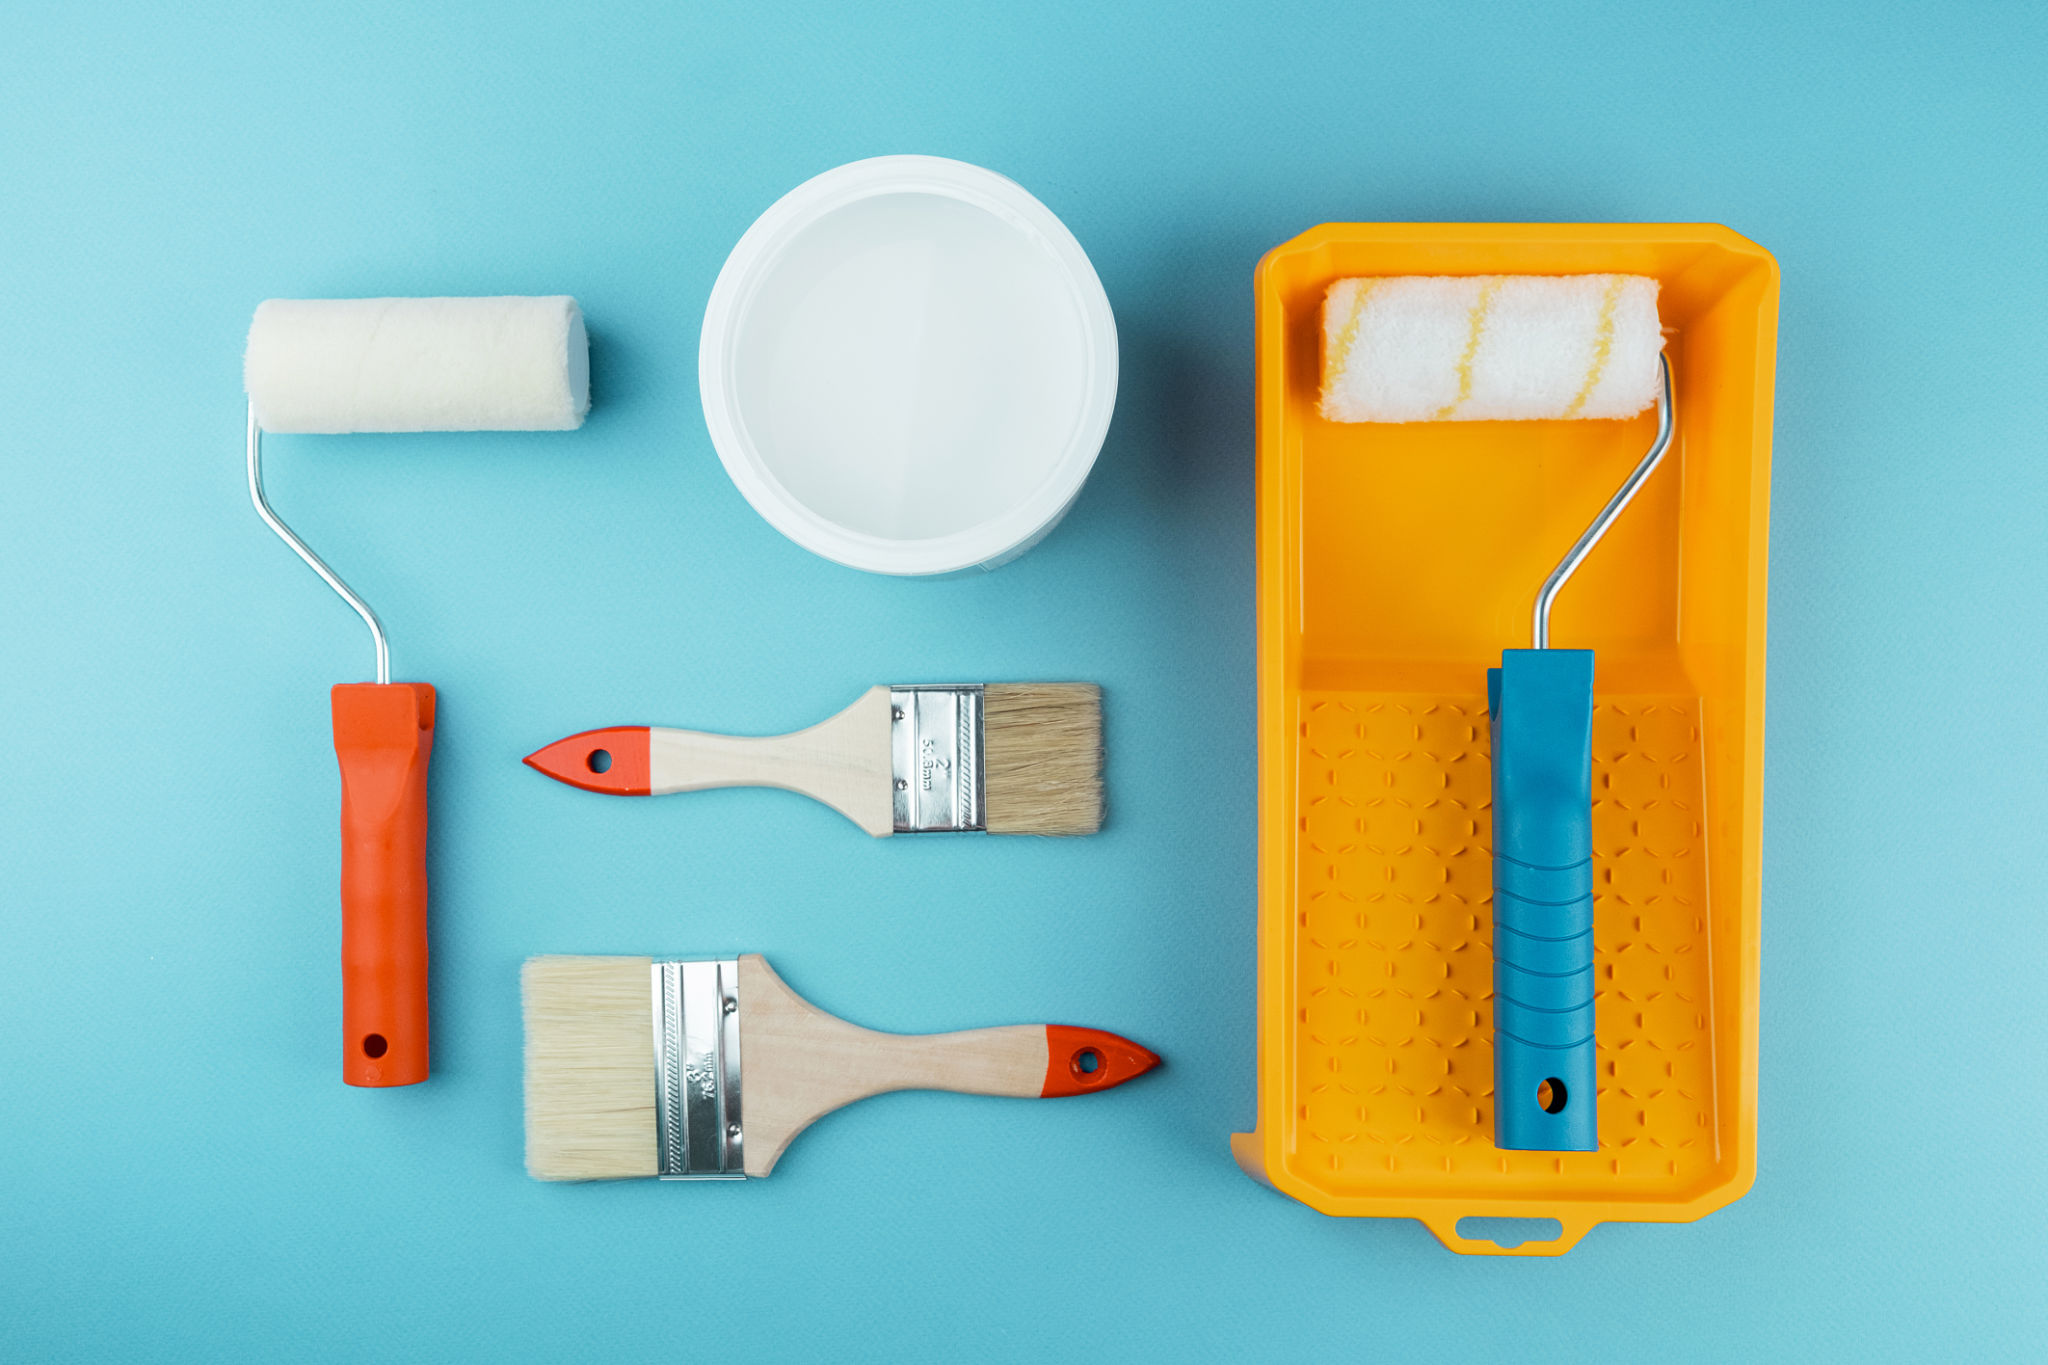
Gathering the Necessary Tools
Before you start painting, ensure you have all the necessary tools on hand. Here's a quick checklist:
- Paintbrushes and rollers
- Paint trays
- Ladders or scaffolding
- Painters tape
- Drop cloths
Conclusion: Painting with Confidence
By following these preparation steps, you'll set the stage for a successful painting project. Taking the time to properly prepare your home will not only enhance its appearance but also extend the life of your paint job. With your home prepped and ready, you can paint with confidence knowing you've laid a solid foundation for beautiful results.