
Step-by-Step: How to Remove Popcorn Ceilings for a Modern Look


Why Remove Popcorn Ceilings?
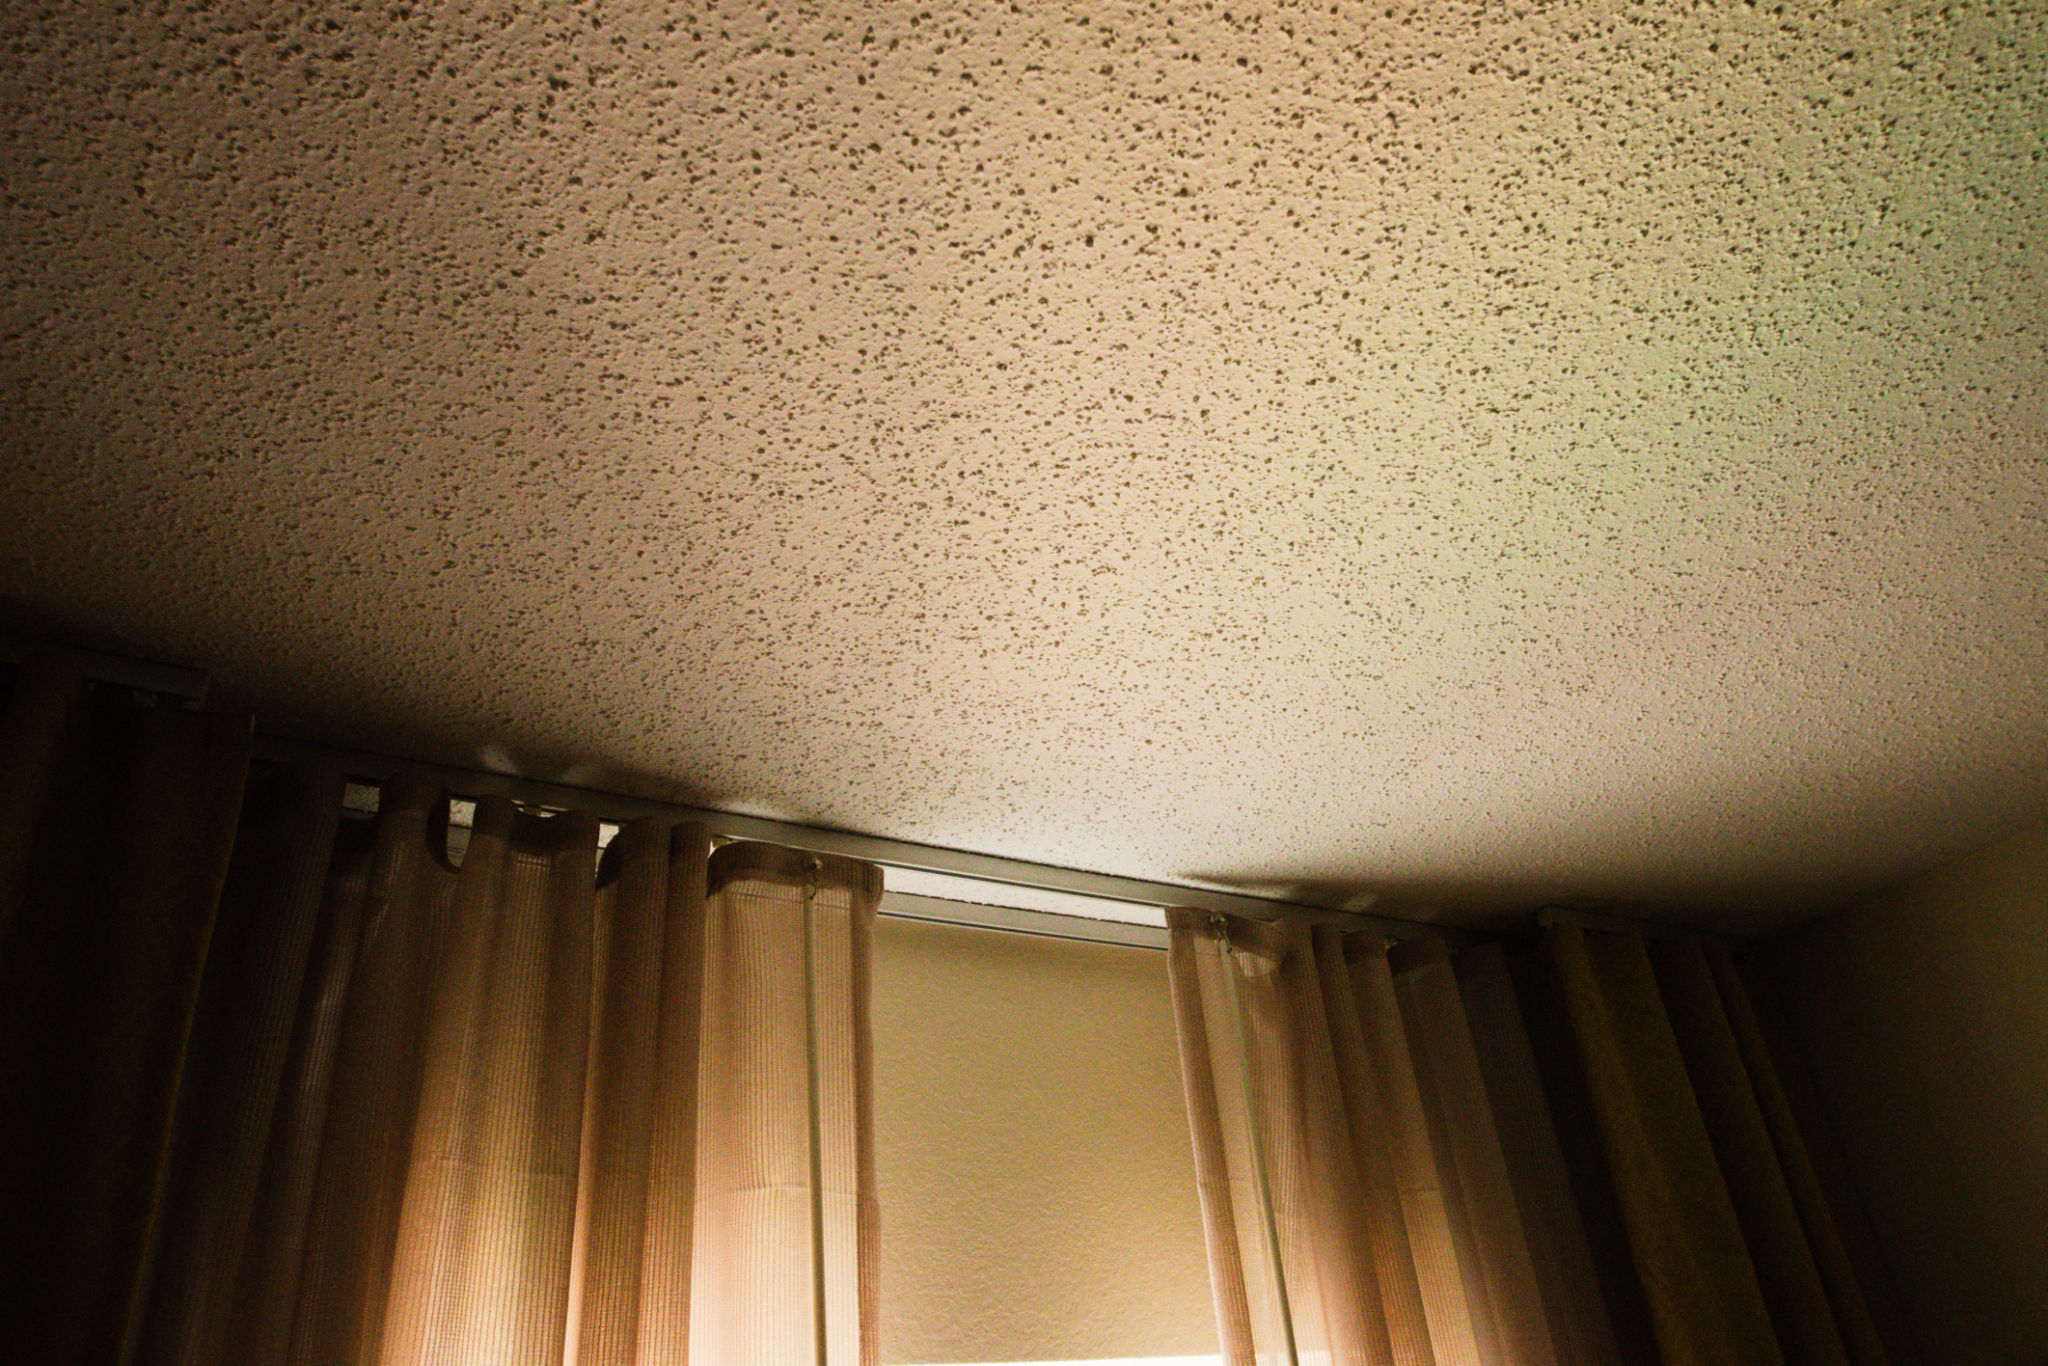
Popcorn ceilings, also known as acoustic ceilings, were once popular for their ability to dampen noise and hide imperfections. However, they have fallen out of favor in modern interior design, often seen as outdated and difficult to maintain. Removing popcorn ceilings can significantly enhance the aesthetics of your home, giving it a cleaner and more contemporary look.
Preparation and Safety Measures
Before starting the removal process, it's crucial to prepare the room and ensure safety. First, clear the room of all furniture and cover the floors with plastic sheeting to protect them from debris. If possible, remove any ceiling fixtures such as lights or fans. It's important to wear protective gear, including goggles, a dust mask, and a hat, to guard against dust and potential asbestos exposure.
If your home was built before the late 1970s, there is a possibility that the popcorn ceiling contains asbestos. It is highly recommended to test for asbestos before proceeding. You can purchase a test kit or hire a professional for this task.
Tools You'll Need
Gathering the right tools makes the job much easier. You will need:
- Putty knife or ceiling scraper
- Spray bottle or garden sprayer filled with water
- Ladder
- Sanding block or pole sander
- Joint compound and a trowel for touch-ups

Step-by-Step Removal Process
Step 1: Wet the Ceiling
Begin by lightly spraying a section of the ceiling with water using your spray bottle or garden sprayer. The aim is to dampen the texture without soaking it. Allow it to sit for about 15 minutes, which helps loosen the material. Be careful not to oversaturate, as excess water can damage the drywall beneath.
Step 2: Scrape Away the Popcorn Texture
Using a putty knife or ceiling scraper, gently scrape away the softened texture. Hold the tool at an angle to avoid gouging the ceiling. Work in small sections, re-wetting as necessary. Take your time to ensure a smooth finish.

Smoothing and Finishing Touches
After removing the popcorn texture, you may notice imperfections or uneven areas. Use a sanding block or pole sander to smooth these patches. Once sanded, apply a thin layer of joint compound with a trowel over any remaining blemishes. Allow it to dry completely before sanding it smooth again.
Finally, apply a coat of primer and paint to achieve a fresh, modern finish. Consider using a flat or satin paint for an even look that complements your updated decor.

Enjoy Your New Modern Look
Removing popcorn ceilings is a rewarding DIY project that can dramatically transform the look of your home. With patience and attention to detail, you can achieve a sleek and modern appearance that enhances your living space's value and aesthetic appeal.
Whether you decide to tackle this task yourself or hire professionals, the result will be a cleaner, more refined space ready for any design updates you wish to pursue.