Popcorn Ceiling Removal: What You Need to Know Before You Start


Understanding Popcorn Ceilings
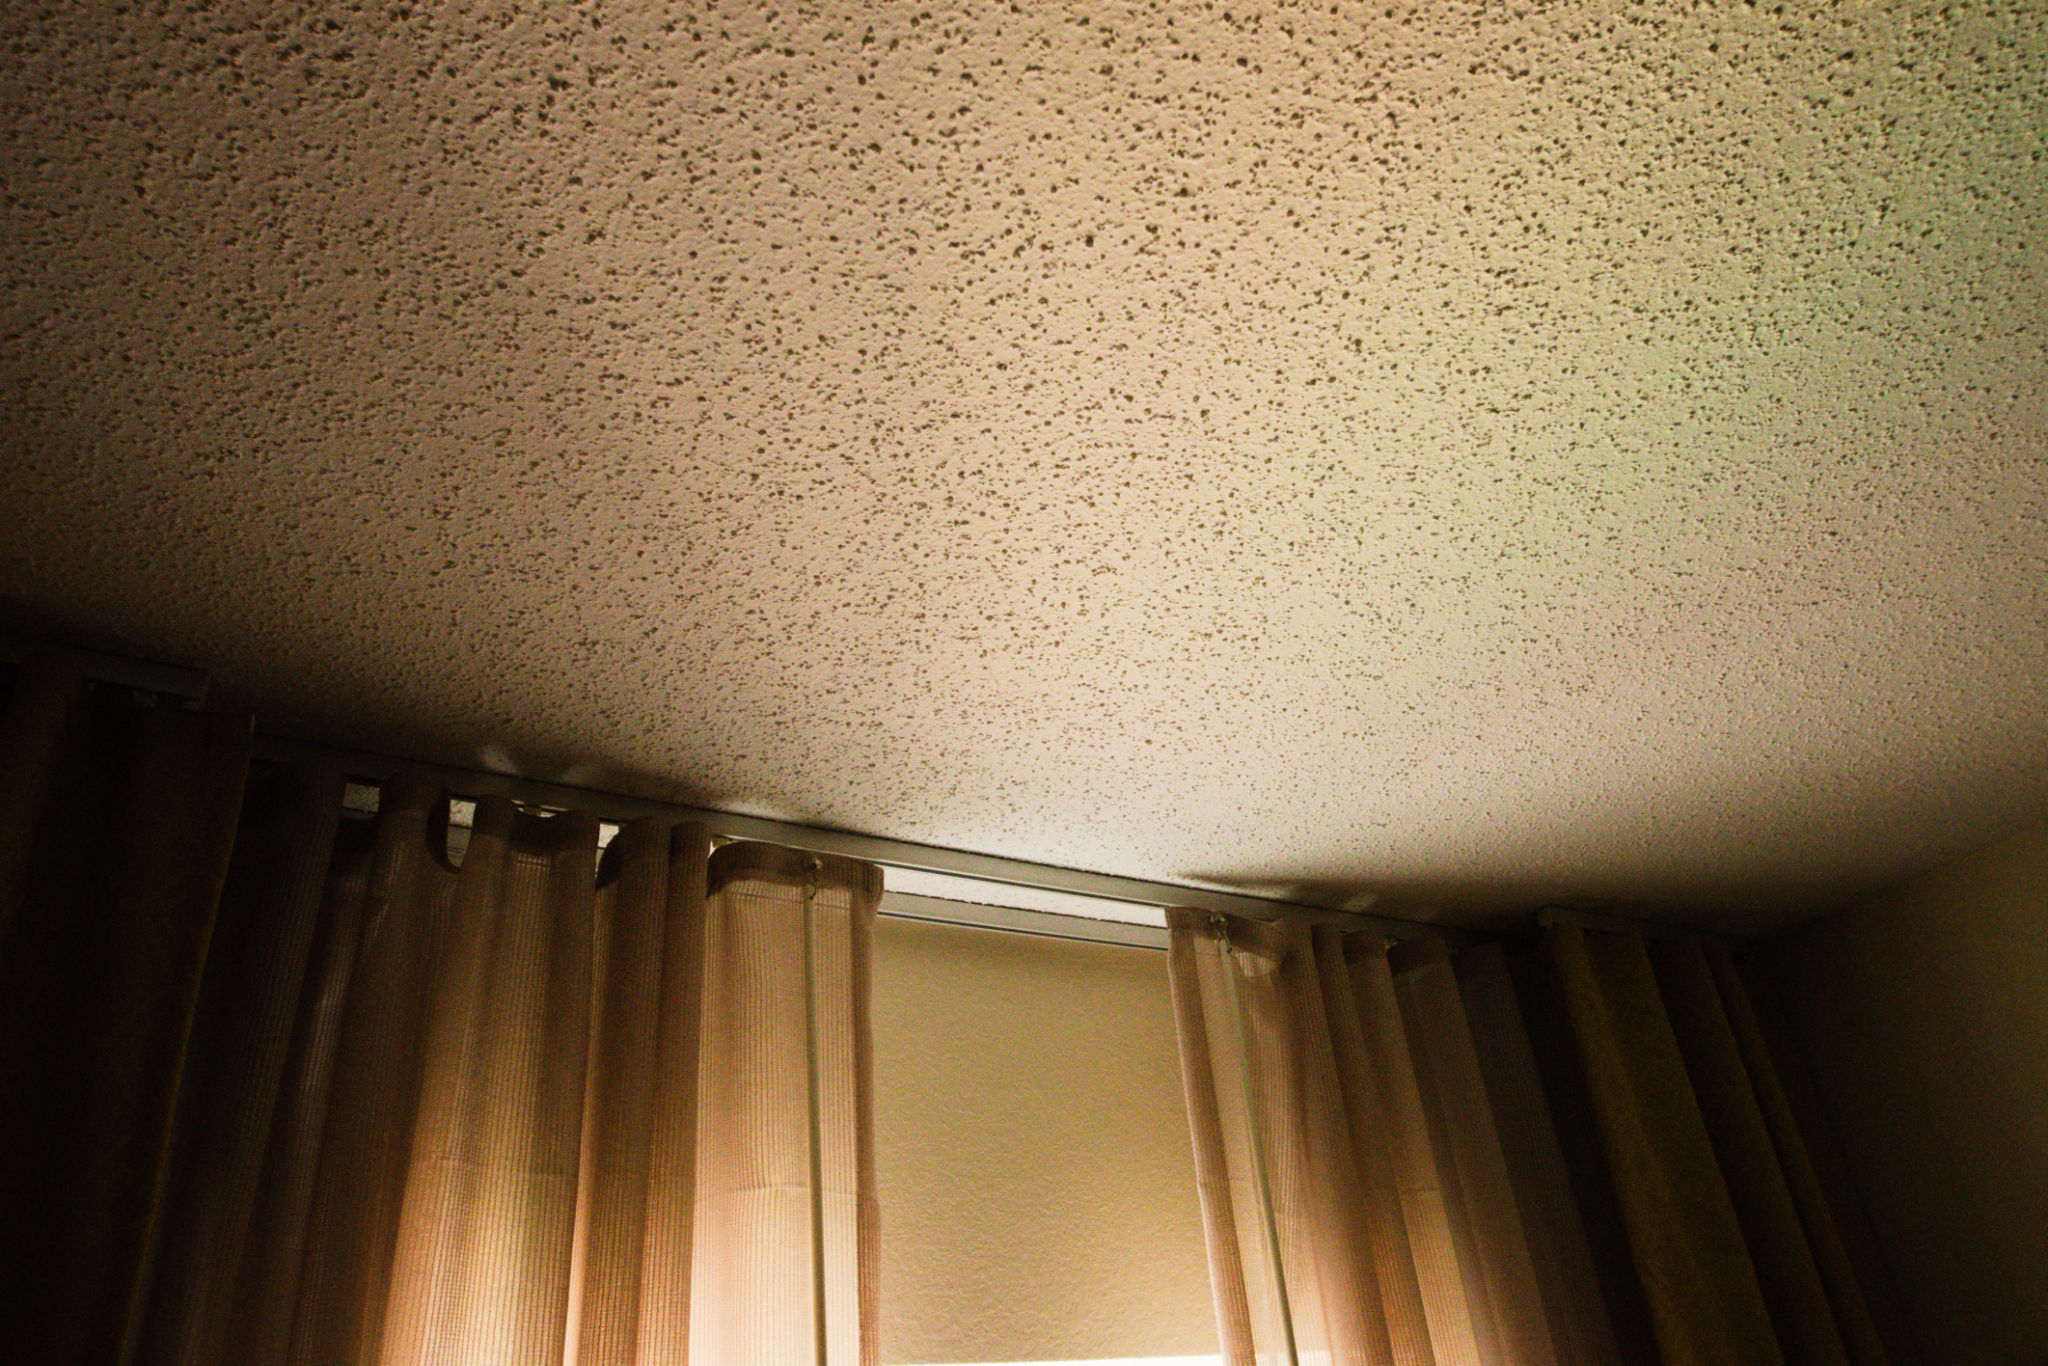
Popcorn ceilings, also known as acoustic or textured ceilings, were a popular design choice from the 1950s to the 1980s. These ceilings are characterized by their bumpy appearance, which was originally intended to help with soundproofing and to hide imperfections. However, in today's modern home designs, popcorn ceilings are often seen as outdated and can even pose health risks if they contain asbestos.
Before you decide to remove a popcorn ceiling, it's essential to consider a few important factors. This process isn't as simple as it might seem and requires careful planning and execution. In this guide, we'll cover everything you need to know before you start your popcorn ceiling removal project.
Assessing the Situation
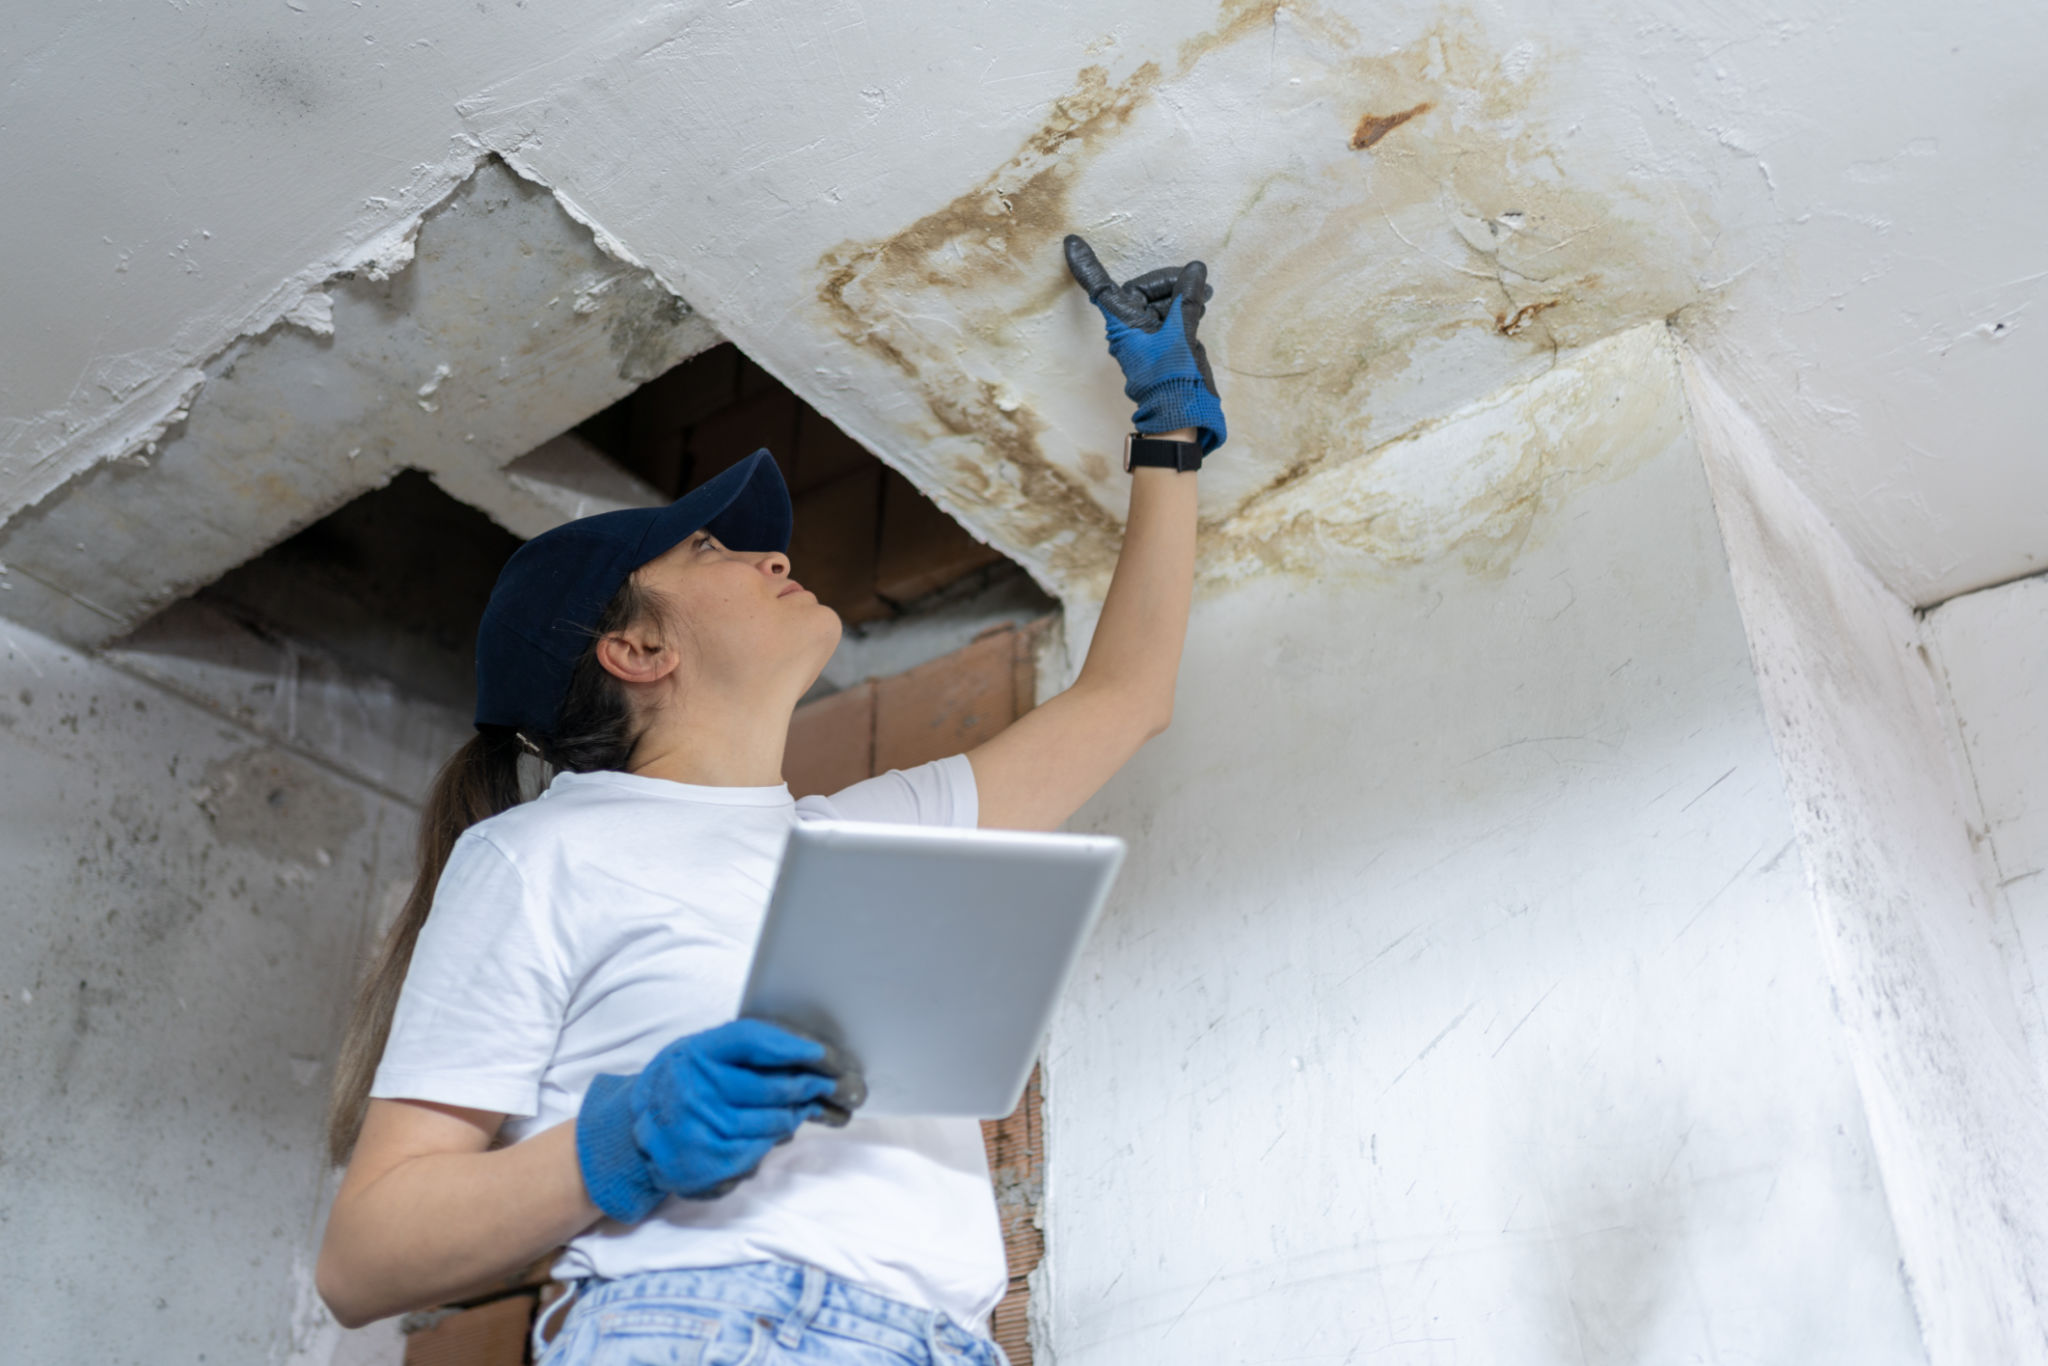
Check for Asbestos
One of the first steps in your popcorn ceiling removal journey is to check for asbestos. Many popcorn ceilings installed before the late 1970s may contain this hazardous material. Asbestos fibers can cause serious respiratory issues if inhaled, so it's crucial to have a professional test your ceiling before you start scraping away at it.
Evaluate the Condition
Next, evaluate the overall condition of your ceiling. If there are signs of water damage, cracking, or flaking, these issues should be addressed before removal begins. It's often a good idea to consult with a professional contractor who can offer advice on whether removal is feasible or if other options might be more appropriate.
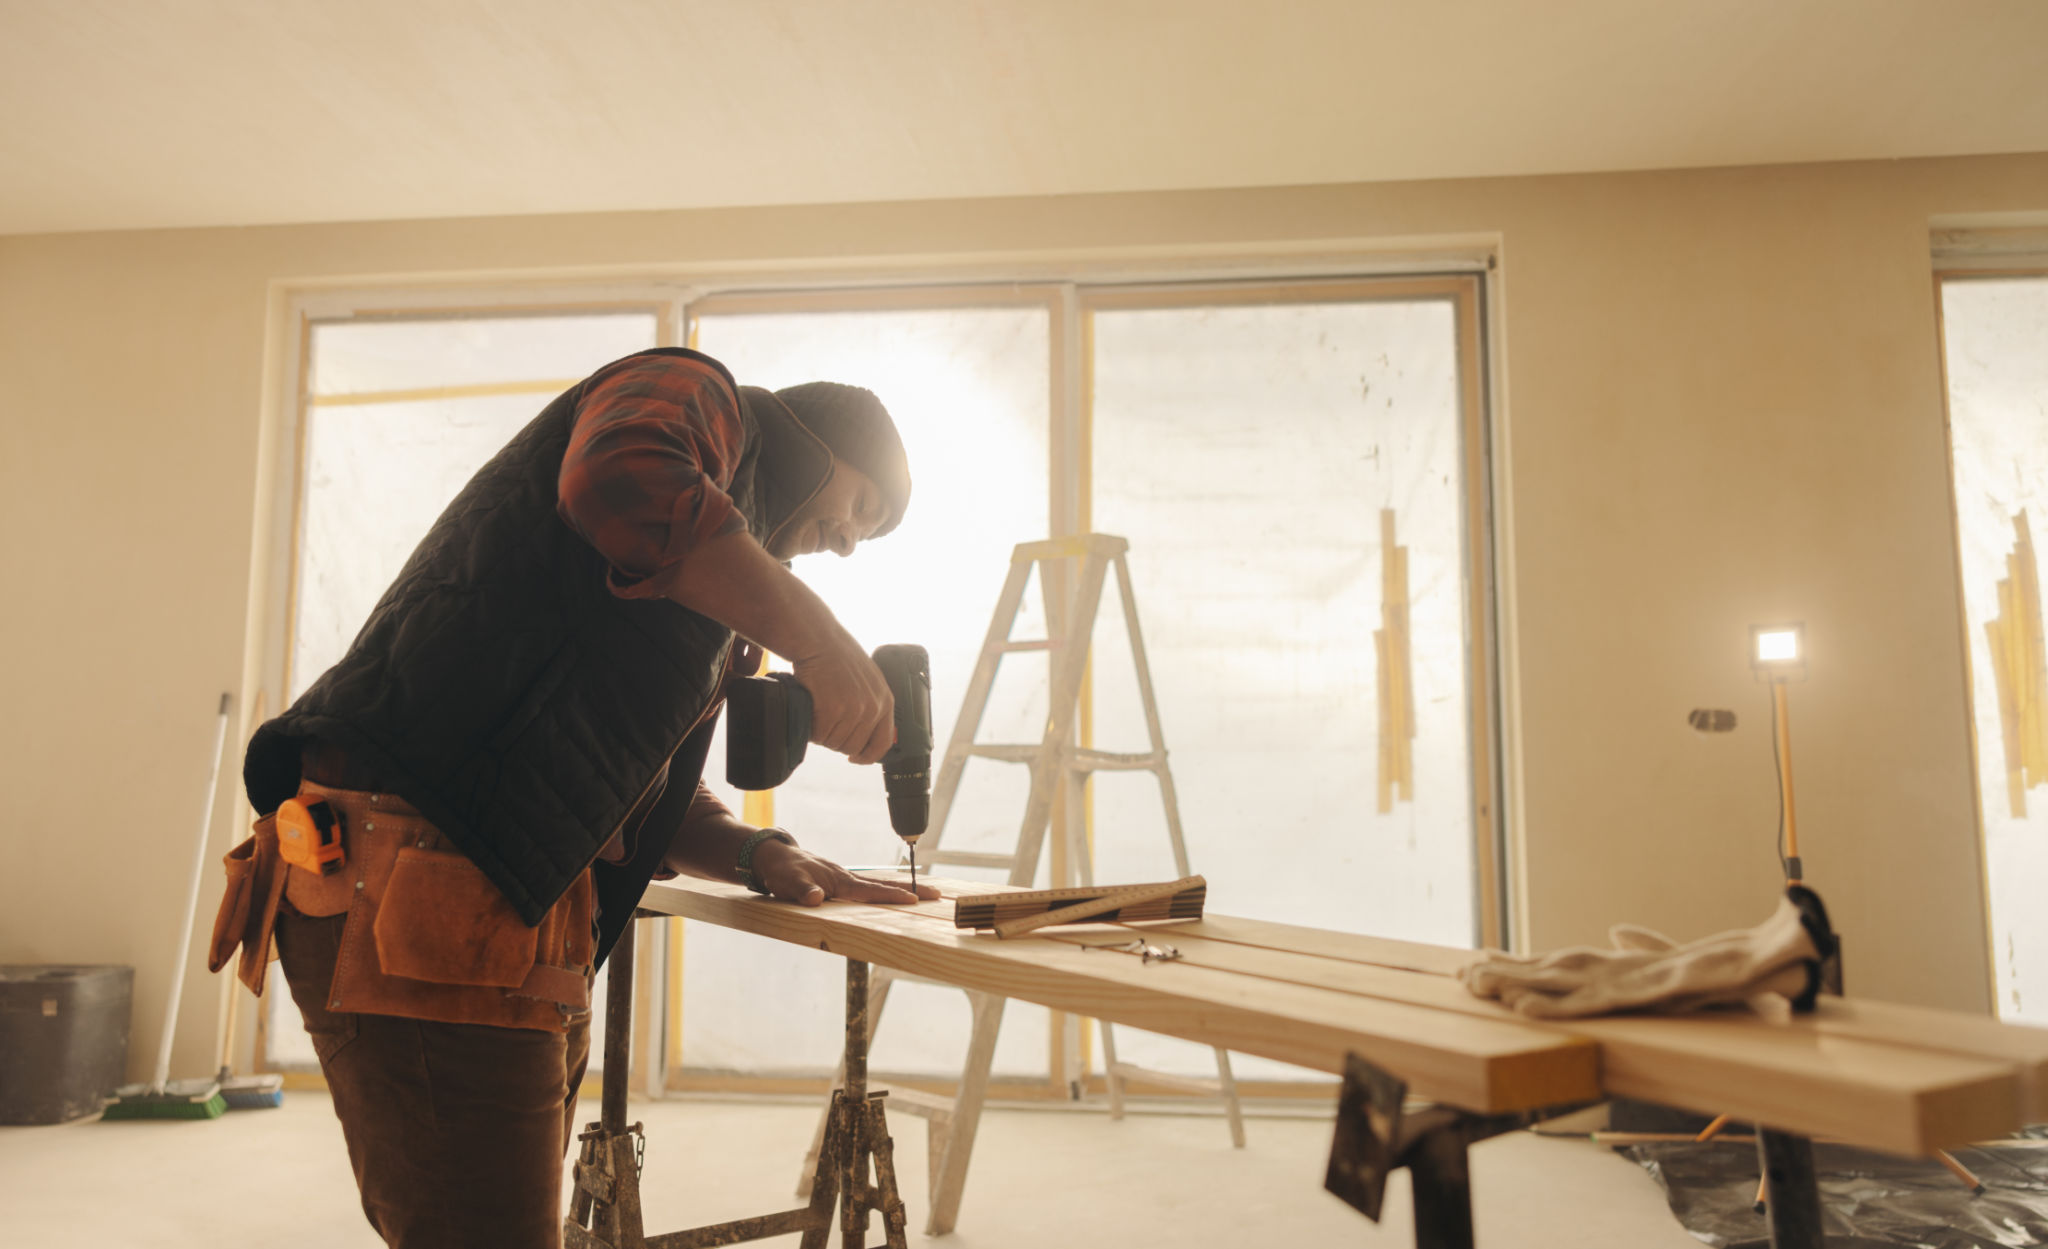
Preparation is Key
Gather Your Tools
Proper preparation involves gathering the right tools and materials. You'll need items such as drop cloths, plastic sheeting, painter's tape, a spray bottle filled with water, a putty knife or scraper, and protective gear like goggles and masks. Ensuring you have everything you need beforehand will make the process smoother and more efficient.
Prepare the Room
The removal process can be messy, so it's essential to prepare the room adequately. Remove all furniture and cover floors and walls with plastic sheeting. Use painter's tape to seal off vents and electrical outlets to prevent dust from spreading throughout your home. Adequate preparation will save you time and effort during clean-up.
The Removal Process
Dampen the Ceiling
Once everything is set up, you'll want to dampen the popcorn texture with a spray bottle filled with water. This will soften the material and make it easier to scrape off. It's important not to saturate the ceiling too much as this can lead to further damage.
Scrape with Care
Using your putty knife or scraper, gently begin scraping away the dampened popcorn texture. Work in small sections and take your time to avoid gouging the drywall beneath. If you're not comfortable doing this yourself, hiring a professional can ensure a smoother and safer process.
After Removal: What's Next?
Once you've successfully removed the popcorn texture, you'll need to repair any damage and smooth out the surface. This usually involves applying joint compound and sanding until the ceiling is smooth. Afterward, you can choose a modern finish such as paint or a new texture that suits your style.
Popcorn ceiling removal can dramatically improve the look of your home and even increase its value. With careful planning and attention to detail, you can accomplish this project safely and effectively.